Pinterest project: Repurposed wreath with fabric rosettes.

"Making these fabric rosettes is like therapy," I said to Brooke, a fellow creative soul, as we stood around the table in my dining room.  She agreed.  We'd been there for several hours on a cold, rainy Sunday, contentedly cutting and twisting our fabric in silence.

Part of my decluttering mission for this month has also included recycling and repurposing items I was no longer using.  This old broomstick wreath from JoAnn was sitting in a pile in my daughter's closet, decorated with ugly yellow plastic flowers, half of which had already been blown off when the wreath adorned my front door a few years ago. Oh, the poor things my front door had to endure before Pinterest came along.

Then I saw these fabric rosettes on Pinterest, and I thought I could make some for my old wreath.  Brooke and Paul ended up visiting for the weekend, and she brought a ton of her fabric scraps - everything from velvet to denim to Hawaiian.  So, while the boys discussed venison chili and oil drilling, we went to town on making rosettes.

We used this very clear tutorial on how to make the rosettes.  I swear it's addicting once you get started. 

And then, you just need a good 'ole hot glue gun to fasten them on.  I swear most of the world's problems could be solved with a hot glue gun.

I love how it turned out!  So much that I decided to make it an "inside" wreath.

The rich velvety blue of the last rosette on the right is my exact color inspiration to paint the chandelier in the butler's pantry (see the last photo).   Now, to find the perfect color of blue spray paint...stay tuned!

Pinterest project: painted river stones.

There's something so comforting about holding a smooth river stone in the palm of your hand, isn't there?  After gathering several river stones that were scattered on a sidewalk in my neighborhood, I was inspired by this idea on Pinterest and decided to make my own.  I thought they'd be the perfect natural materials for my daughter to play with and learn from.  And a fun project for mama, of course!

I didn't spend a cent on these and used materials I already had at home.  Even if you don't have the materials, the cost is very minimal!

Materials needed:

  • Smooth river stones in various shapes and sizes
  • Non-toxic craft paint in various colors - comes in small bottles at Michaels, Hobby Lobby, or JoAnn
  • Small paint brush
  • Black Sharpie
  • Small container of Glossy Mod Podge - get it in the glue aisle at Michaels, Hobby Lobby, or JoAnn
  • Foam sponge brush or bigger paint brush to apply the Mod Podge

Now, start painting!

For the background designs and words, you can follow the ideas on the orginal artist's blog, or make your own!  I did a combination of the two. Once the paint was dry, I simply used a black Sharpie to write the words, which made it a ton easier than trying to use a paintbrush.  The Sharpie ink dries quickly, and then you just put a coat of glossy Mod Podge on top and let it dry.  They end up very durable and scratch-proof.  Love 'em!

We keep them in a little wooden bowl on the coffee table, and Luci Belle plays with them several times a day.  I want to make another entire set of the entire alphabet - with one letter on each stone, to help her eventually learn to spell.  How cute would it be to make a set of these as a gift for a little girl's birthday?  Also love this idea of putting them in a bowl by the front door and letting guests take whichever one inspires them.  Perfect.

Artist.

I set her up at the craft table wearing my old smock from childhood - with "CHRISTINE PICCIONE" written in my mother's handwriting inside the neck.  Just holding it in my hands reminds me of being in Montessori school, one of my earliest memories.  Of course, art was always my favorite.

As I strapped her into her booster seat, she looked at me with wide-eyed expectation, unsure of what mama was about to put in front of her.  I handed her a paint brush, squirted some paint colors onto a paper plate, and she immediately dove in...

Of course, once she started, she didn't want to stop.  She pointed at the paints asking, "Mooore? Mooore?" 

So I loaded on more colors, took out some card stock left over from a baby shower, and smeared her hand in the paints and slapped it on the card to make a handprint. 

She giggled.

She looked up at me.

Then she started slapping her hand all over the different pieces of card stock, completely overjoyed.

Was mama really letting her get this messy? 

Yes, mama was.

And something in me was released at that moment - perhaps all the stress from the week that had been bottled up inside, and I burst out laughing!  As we kept smearing and slapping down more colorful handprints and splashing more paint on the table, I was a child again.

By the end, she was painting her hand, and I just sat there and let her...

Yes, the childlike artist is fervently alive in her - and in me.  If leaving the artist behind means growing up, then I hope I never do.

Pinterest project: DIY birdfeeders using bird seed, cookie cutters, & gelatin.

These adorable birdfeeders are the perfect winter project to foster creativity and also make the birds happy!  I saw this on Pinterest and thought it would be a fun and inexpensive way to provide food for the birdies all winter.   Do it on your own, or with kiddos!

You only need a few items:

  • Bag of bird seed for small birds {I got mine at Target.}
  • Box of Knox Gelatine {Get at any grocery store.  The box has 4 packets inside.  Gelatin is completely safe for all birds as well as weatherproof!}
  • Water
  • Cookie cutters in various shapes
  • String or twine
  • Wax or parchment paper

For the cookie cutters, use simple shapes such as a star, heart, or circle.  You don't want to use very complex designs because they won't hold together well.

Here's the tutorial that I used - so easy! 

After taking about 30 seconds to make the birdseed mixture, I pressed it into the shapes and added string and let it dry overnight...

Come morning, I simply removed them from the cookie cutters.

Cute, eh?

Ready to hang them from the trees!

Come, birdies, COME!

Pinterest projects lately...

So few days before Christmas, so little time.  Thanks to Pinterest, I now have seemingly endless amounts of inspiration and a constantly growing list of craft projects to tackle. Thanks to my mom being in town for a week over Thanksgiving, I've made a lot of progress!  Free childcare so Mommy can have some sanity creative-time?  Check.

First, a small home improvement project to brighten things up a bit...

I fell in lurve with this orange window...

...and then became obsessed with replicating it in my own kitchen.  My kitchen sink area resembles this layout, all white with the farm sink and glass cabinets on each side.  Except with a heckuva lot more stuff cluttered around it.  I was already planning to paint my kitchen walls creamsicle orange {one day} but it just seemed like so much to tackle with all that taping and painting around oddly shaped spaces. 

So, painting just the trim around the window?  Much more unique, and faster too!  My sweet husband decided to buy me paint for this project as a birthday present, so I went on a mission to find the perfect creamy orange...ah yes, "Orange Slice" by Glidden.

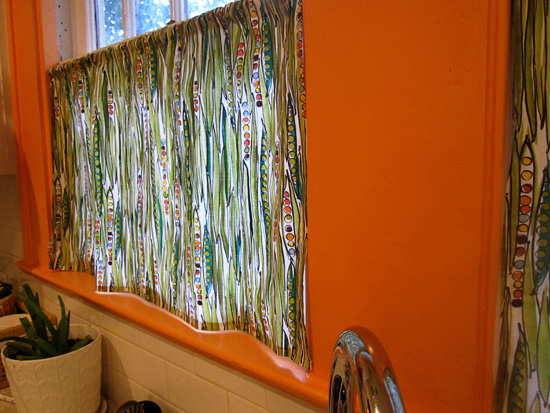
Sure brightens things up, doesn't it?

~ ~ ~

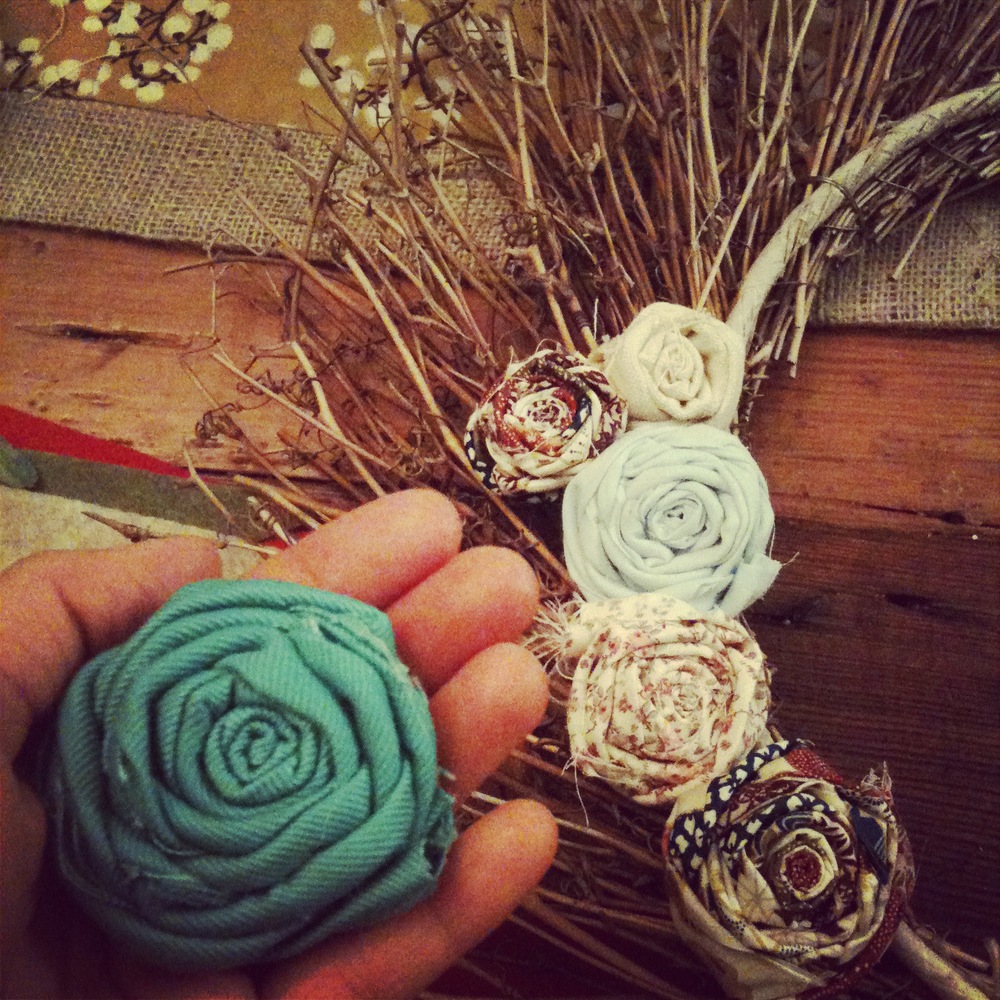
Once that was completed, I got busy making handmade Christmas decorations.  My love affair with wool has been taken to another level, I tell you.

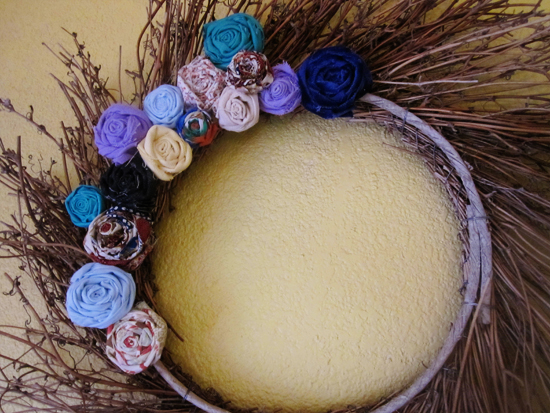
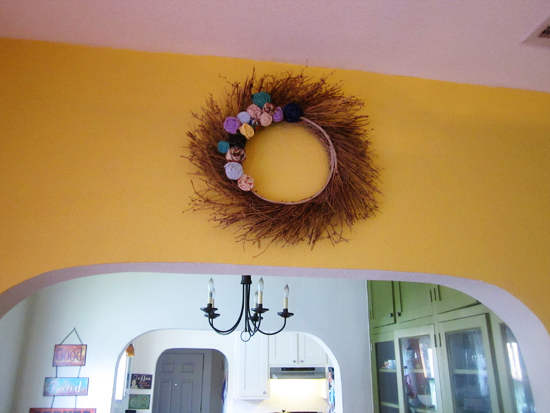
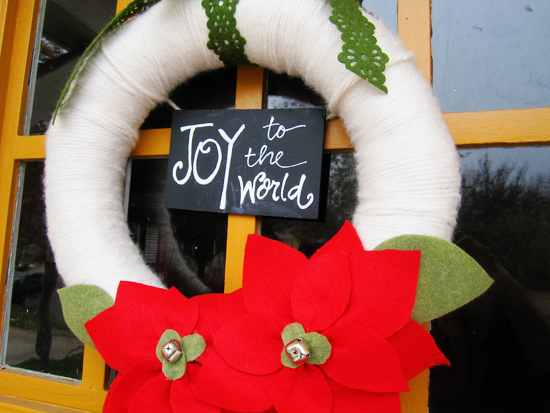
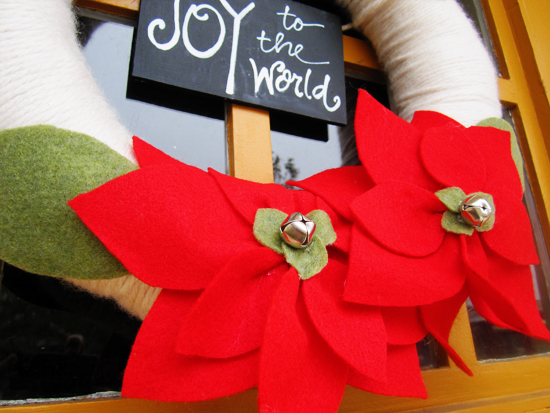
Christmas yarn wreath with felt poinsettias.  I was inspired by this beautiful wreath from the Hope Mommies website, but I also loved the poinsettias like on this wreath.  So I sort of combined the two ideas and used the tutorial from this site which even includes an easy template you can print for the petals!  For the center of my flowers, I used three small green circles of felt and added a jingle bell.  I then painted a small, thin piece of wood with chalkboard paint, wrote on it with chalk pen, and attached it to the wreath with yarn.

It's amazing all the things one can do with a glue gun.

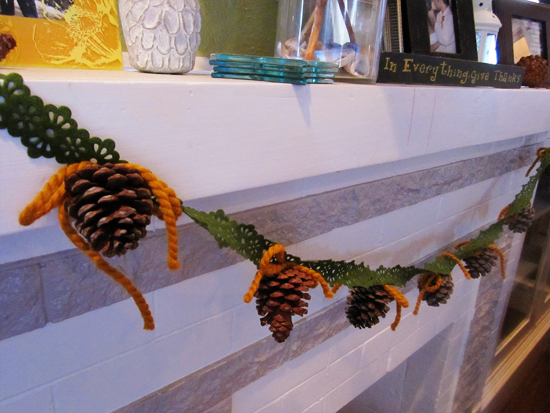
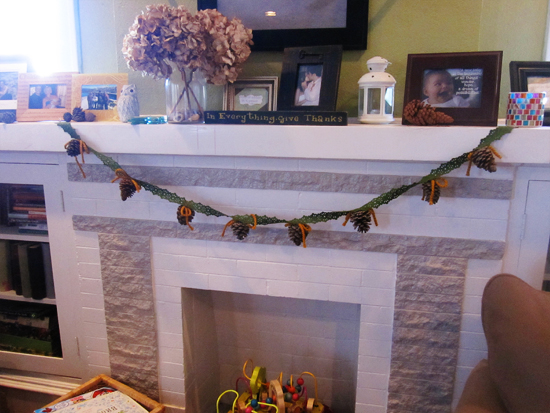
Pine cone garland.  I've been embarrassing myself for months now, scooping up pine cones and acorns from people's yards, hoping they won't notice.  I have pine cones scattered all throughout the house.  It was time to convert them into Christmas decorations!  I made this simple garland by tying yarn bows and gluing them to the ends of plain pine cones with a hot glue gun.  Then I glued each pine cone bow to a strand of ribbon.  Seriously took about 15 minutes total.

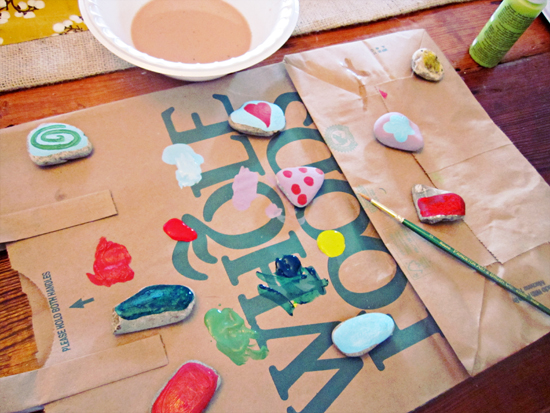
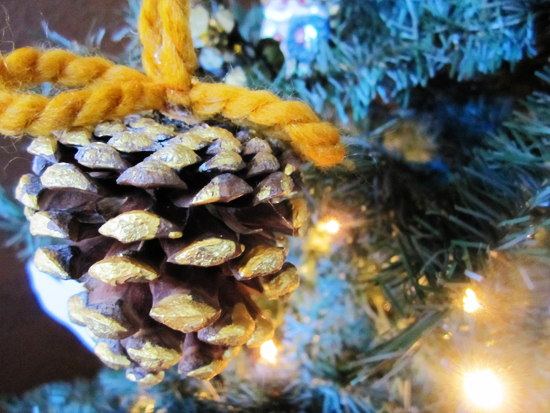
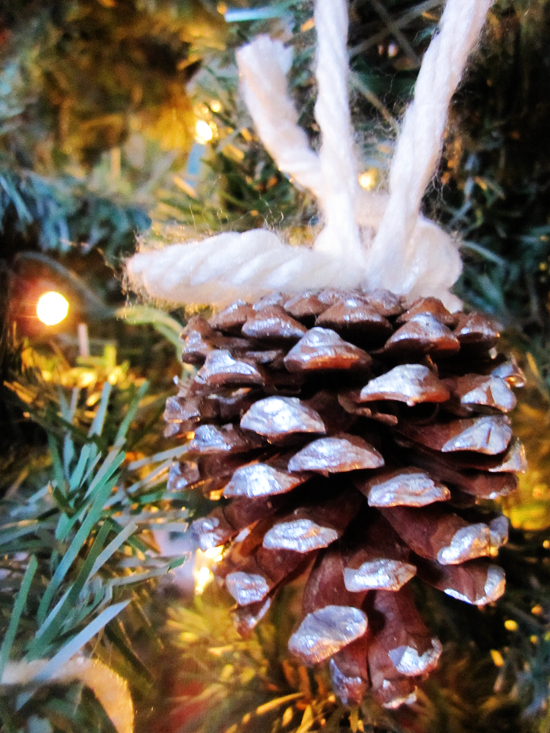
Handmade ornaments.  There are hundreds of handmade ornament ideas on Pinterest, but I decided to use my trusty pinecones.  Just brushed them with some gold and silver paint and glued yarn to hang.

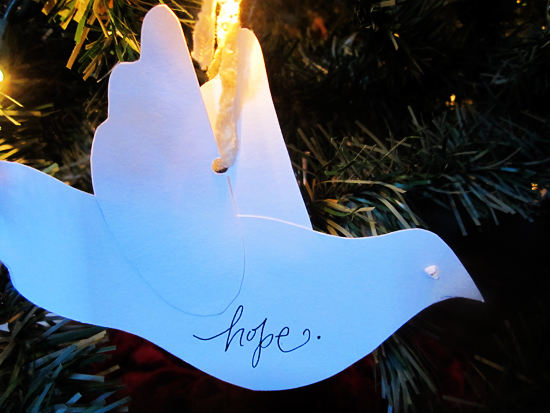
I still love these paper birds from last year...

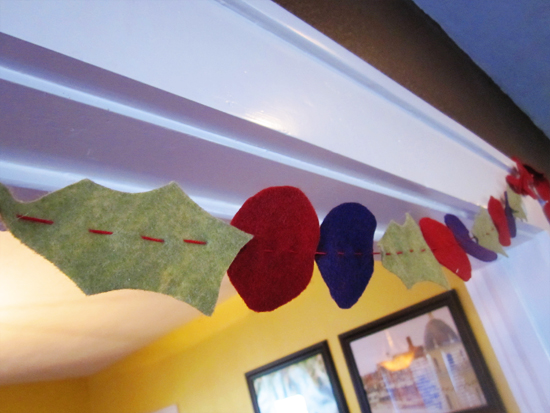
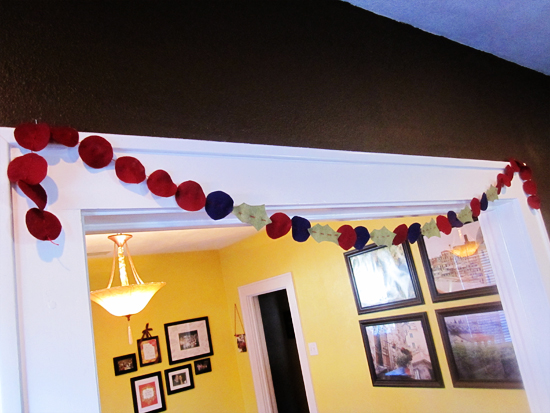
Felt Christmas garland.  Ever since I made the felt leaf garland for fall, I've been wanting to try another one, except stitching the felt pieces together this time with a needle and thread instead of using thick yarn.  Sometimes I like to pretend I can sew, you see.  I was inspired by this Christmas garland and decided to give it a go...

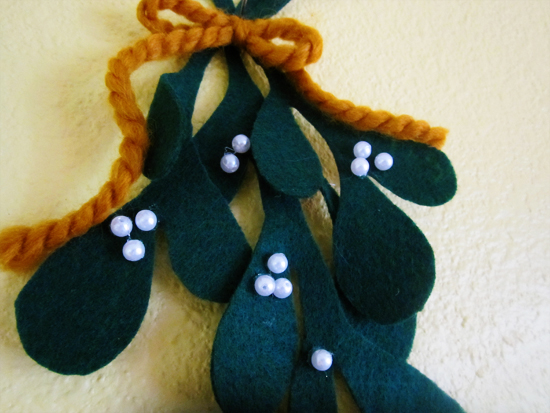
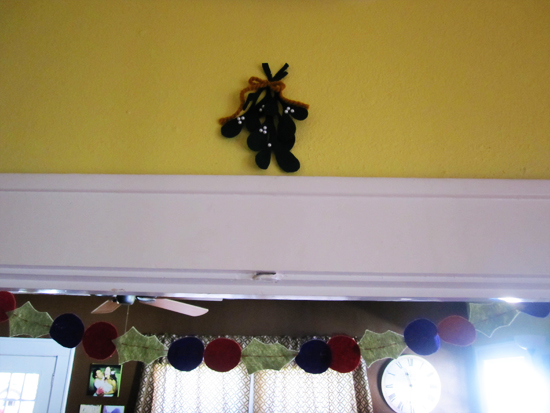
Felt mistletoe.  No doorway is complete at Christmastime without mistletoe.  How adorable is this?  I've already gotten some smooches underneath it.

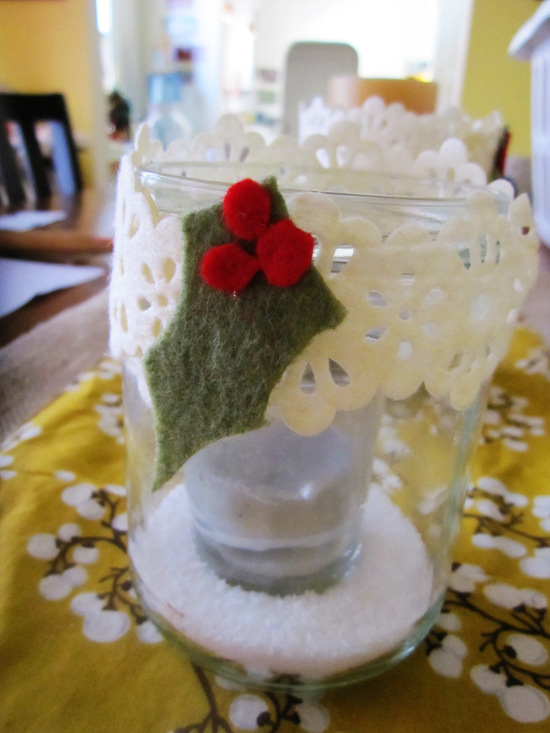
Winter mason jars.  Finally, I recycled my fall acorn mason jars and made them wintery.  I cut some holly and berries out of felt, glued them to white ribbon, and added kosher salt for fake snow. 

I really wanted to make these adorable snow globes or yarn wrapped trees or a wine cork wreath, but there's always next year! 

Please share your Christmas craftiness too!

A happy November day...

It started with the perfect coconut milk latté on a rainy, cool morning.

And then there was art time on the living room floor.  I pulled out a drawing pad and drew photos of objects like a ball, cloud, boat, tree, rainbow...and my little artist figured out how to master drawing with crayons.

The sky cleared up, and we headed out for a walk.  Suddenly, it was cool and bright outside, and Dallas was aglow with fall.  Sometimes autumn really does come to Texas...

The rest of our afternoon included lots of work for Mommy for our small business while the little one pulled books off her shelf and "read" them to herself or sat on my lap and watched Horton Hears A Who.  There was also folding cloth diapers, doing laundry, washing dishes, and cleaning smears of almond butter off sticky hands and the coffee table.  

And then, an evening walk...

At the end of the day, I found that my little artist had learned how to color with pen on the couch cushions and her pajamas when I wasn't looking.  But this journal is about embracing every day, right?  And that includes embracing the mess.  So if you look at it through those lenses, it really was a perfect November day.